Mostly what I've built up to this point is military grade rackage and now I have a rad versatile go-fast bike and I need something befitting. A light front bag/rack combo to carry summer-light loads.
I spent quite a while looking at what was available in front bags and getting advice. I settled on the Ostrich. It's made in Japan which is cool because Japan at this point has good manufacturing heritage and I picked it over the competitors like Velo Orange and Acorn and Berthoud because it's a quality bag at a good price point with lots of features I want but mostly it doesn't weigh a ton. I'm not going all weight-weenie on you, but OTOH, weight matters and holy hell, does it ever add up. When you have a bike built for you by a guy like Glen, it's personal. He's seen a bazillion cyclists over the years and probably has pretty spot-on judgement and so even though I'm getting up there in years, it was obvious that what he thought I belonged on was a bike for going fast and wouldn't have built what he built unless he thought I was capable of a little speed and I like the sound of that and I'm damn sure trying to pay attention to what he's handing me and not immediately go and eff if up.
You've already seen that I've hung stupid amounts of weight off this bike, and it's great that it will take it, but that's not what it's optimally about.
That's a bunch of rambling on. Let's get to the pictures.
Meet the Ostrich bag. It's mostly cotton but with some leather.

Fab map pocket on top.
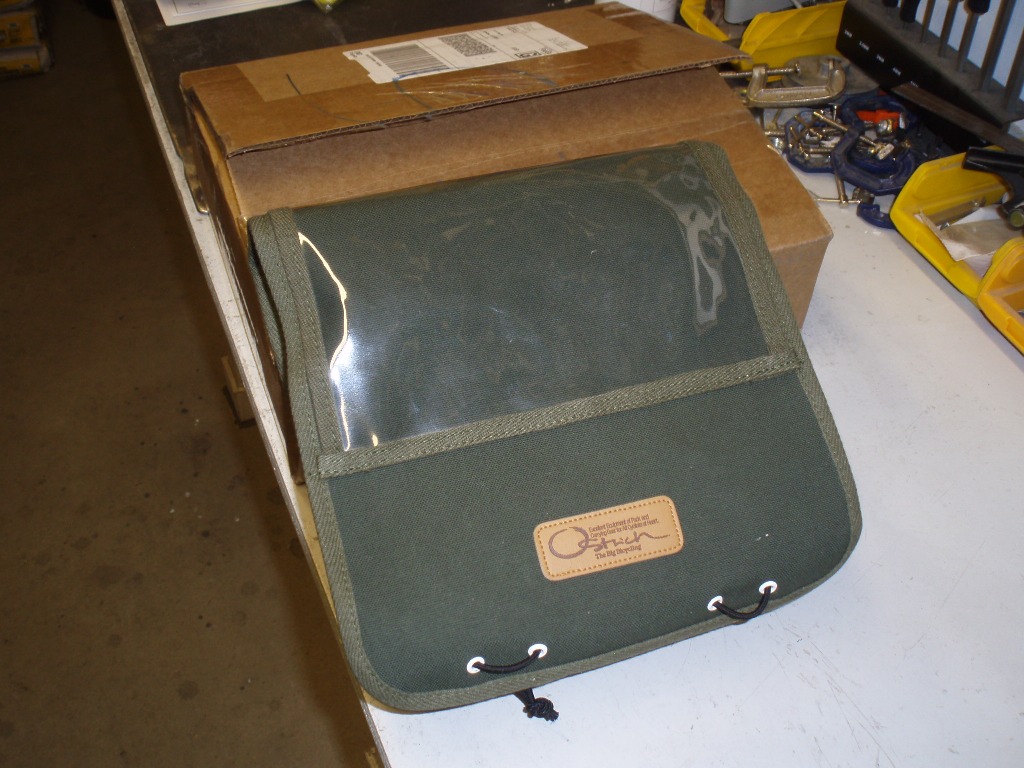
All kinds of leather straps and buckles. Not my thing. Probably all sacreligious in rando circles, but they're mostly coming off.

Strap on the bottom of the bag.

Inside is a shoulder strap, which I'll throw away, and some plastic stiffeners to help the bag keep its shape and which I highly value.

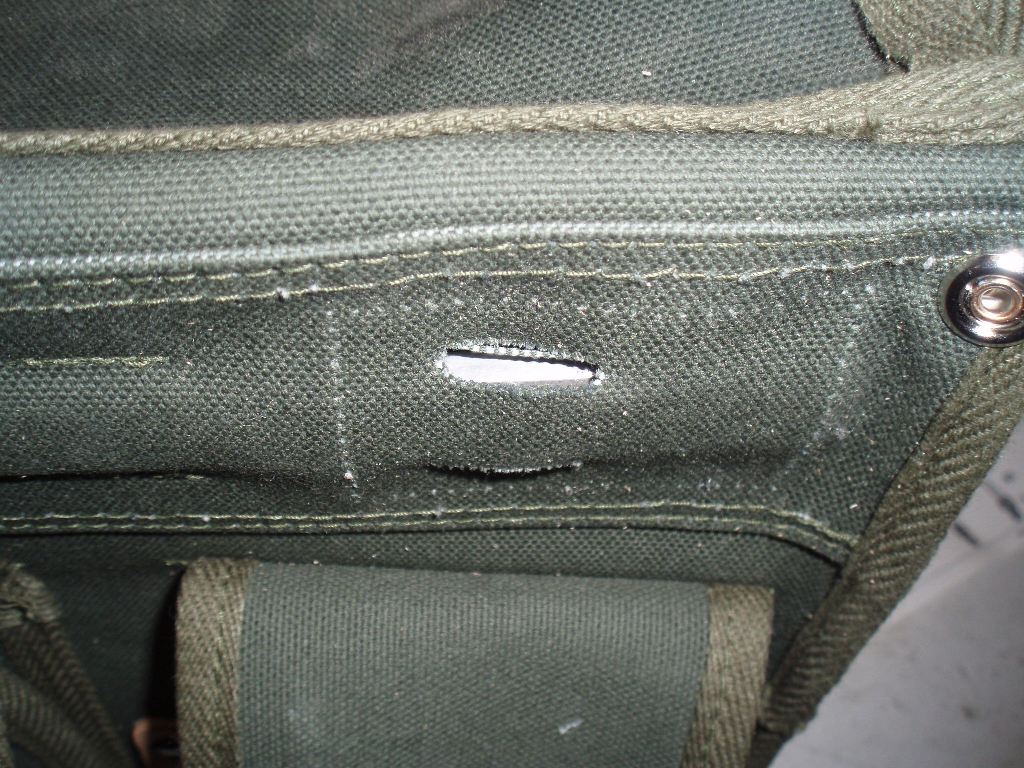
The stiffeners had sharply corners which might eventaully wear on the fabric, so I rounded them off.


Out came the seam ripper. Not gonna need these leather patches/strap-holder deals.

A while back, Alex Wetmore sent me the link to these pictures of how he tied some Ortlieb hardware to a front bag to create a quick-release mounting system. It made immediate sense, but of course I had to put my own twist on it.
Just so happens, the Ostrich has a piece of aluminum flat bar sewn right into the fabric in the back of the bag.
Perfect place to mount the Ortlieb hardware.


Here's the rack coming together. I think you get the picture, so I'll just shut up.


I had to drill into my new Elephant. Just about killed me.


The back of the bag was secure, but I needed some way to hold the front down and keep it from bouncing around. I bought a couple of the smallest nylon cleats you can get, from West Marine. I cut the tails off and mounted them, you get the idea.


The bag and rack combo came in at just under three pounds. Good good.


The shift cables keep the bag a ways away from the bars. So the strut back to the fork crown got a little long and I decided I needed to reinforce with some diagonal stays. Up until this point, the workmanship had been pretty good. Up until this point. It was either slam it out or miss my return to the CDANF, which wasn't gonna fly. So I settled.

Here it is, finished. Probably should have takan a picture with the bag aboard, but you can use your imagination. Yeah, I know, it's a pretty weird rack, but if you don't try anything you don't learn anything.

So far, so good. If you see it in future posts, you'll know it's all good. If not, then you can assume a crash and burn.
10 comments:
I thought the two threaded spots on top of the fork legs were for rack mounts. If not, what are those two screws there for?
Yeah, those are also rack mounts that I had Glen add for some other (unknown, future) rack. This one is pretty light duty so I used the more standard mounting to allow interchangeability between bikes.
I think that the way you mounted the ag to the rack is clever. I hope to see them in future posts!
You are a f'rackin' genius!
I could rip the bag apart no problem, but I think I would have had to take the frame back to the builder to have the hole drilled. Ouch!
The photo of you drilling a hole into the bike is just about the most grusome sight I've ever seen on the internet. It still sends shudders through me thinking about it. May I make a request: when you're going to show something that graphic, at least give me a warning.
I can't believe you didn't spec that hole...or did I forget it?
I didn't spec the hole, I can't believe it either. But actually it was there, but it was smallish and only through the front and not out the back. So I hogged it out in front and drilled a brand new hole through the back. No guts, no glory. No such thing as a bad adrenaline rush.
extra points for not using a drill press.
Post a Comment