On the subject of rack fixturing, I've been sort of just getting by.
John pretty accurately describes it as "...
this so totally half-ass-looking system of jigging up the bike and the rack with hunks of lumber and big clips that just seems impossibly error prone -- but it works really really well."
I don't know about really really well. It's been working alright, but what a royal PITA. The setup is all so fragile that if you even breathe on it the wrong way, it all goes sideways. Apparently I hit the wall at shop night last week, fussing around with shims and bungees and all that krap, because my motivation to do something about it pegged out my OCD meter and I went all crazy on a concept that's been rattling in my noggin for a while.
Here are some shots from the multi-day fab binge:
 |
| The foundation. |
 |
| Adding the upright to the foundation. This will support and level the bike. |
 |
| Trying to keep everything as square as possible. |
 |
| Extensions for the main angle that the bike wheels rest in. Mental error; I cut the main angle long enough to handle various wheelbases, but not long enough to have clearance for the levelling jack screws at the end. |
 |
| Easy fix: just hack a chunk onto the end! |
 |
| I spent a lotta time dwelling on the best way to level up the bike after it' been set in the fixture. This is part of that. |
 |
| Math always goes so much easier with beer. |
 |
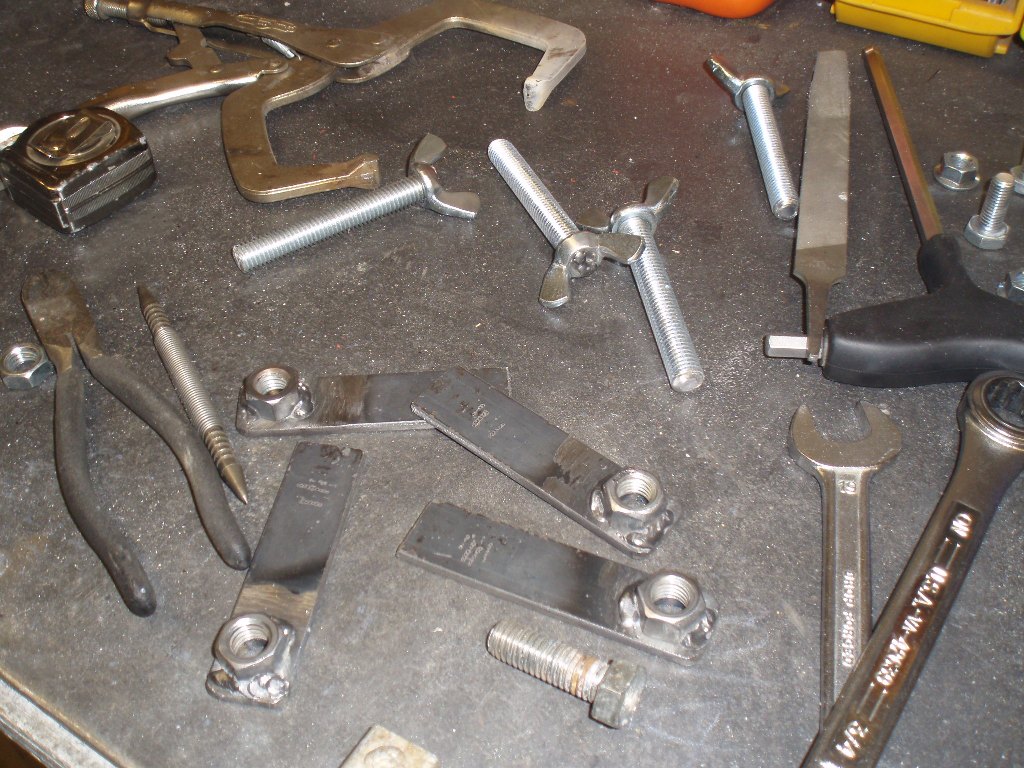
| Making some t-handle bolts. |
 |
| Main angle's getting pretty long. Where in the hell am I gonna store this damn thing? |
 |
| Main angle bolted to the foundation and testing the levelling method. |
 |
| Making the supports for the uprights. |
 |
| Fitting the supports for the uprights to the main angle. |
 |
| The main angle didn't have enough torsional rigidity, so I had to add some outriggers. (That is the geekiest sentence I have ever typed, and it probably makes no sense whatsoever. Next picture, please.) |
 |
| I think I just won't say anything here. |
 |
| Ditto. |
So obviously, enough with the fab pics and geek speak. Bottom line is that we put it to work last night at shop night. We identified a couple a things right away that need to be improved. But all in all, a success. That's Joe's rear rack coming together. Sweet.
It probably cost me a coupla hundred bucks and a boatload of hours, and so maybe it seems kind of crazy, but I just have this feeling that it's gonna be put to a lot of really good use.
Oh, and I was told in no uncertain terms that it has to be able to accommodate a mini velo. Whatever that is.


6 comments:
Pat, you are one crazy mofo. You make me rethink about not going in to psych nursing. If I really thought all the patients would be like you, I would probably do it. Wade
Wade, I think there's a compliment in there somewhere. I'm blushing and I thank you.
i tend to understand, if not agree with, most of the trends in bikes. mini-velo i do not understand. maybe if you live in tokyo and have a 200 square foot apartment, otherwise... why?
Andrew, the mini velo is John's obsession, I just sort of agreed to help build a rack for it at some point.
The mini velo makes sense to me as a space-saving urban utility ride. What baffles and intrigues me is John's idea that it could be a fun trail machine. I'm hoping he sees something none of the rest of us do and ultimately gets the chance to say "I told you so".
An entirely original name for John's mini: "Spokane Pocket Velo"
If 20 inch wheels don't work on trails, somebody needs to tell the BMX kids in my neighborhood to stop having so much fun.
so a trail-going minivelo bike would basically be an old BMX racing bike, but with extremely bad standover and multiple speeds. Right?
http://bmxmuseum.com/bikes/se_racing/563
http://1.bp.blogspot.com/_CGYQGxEMolw/TUTHNGCYygI/AAAAAAAALN4/bTBky2EEp6Q/s1600/miniSoma.jpg
Post a Comment